Car Carrier Trailer
If you’ve visited here before you know that one of my long term projects is to built a fully road-able steam powered automobile. In addition to requiring a great deal of research, such a project requires tools. I will need machine tools such as a lathe and a milling machine. I’ll also need a flat bed trailer, initially to bring home the machine tools, but also to fetch the donor car that I’ll base my vehicle on.
I began scanning Craigslist for an old travel trailer that I could strip down and make a flatbed out of. I happened to mention this at work and my buddy in the office next door said his parents had been trying to get rid of a 29 foot Cobra Sierra for quite sometime. I did some research and found that the length of my 36′ Thomas Saf-T-Liner plus the 29′ travel trailer just met Massachusetts’ maximum 65′ for an RV in combination. I ordered and installed a brake brake controller in the bus and went up to fetch the trailer.

The trip back was uneventful, but stripping the trailer was a blast! I keep a great deal of the materials including all of the appliances, the aluminum skin and all of the stick wood. The only things I sent to recycling were the wood products made of particle board. The fiberglass insulation was the only thing I simply threw out , and since it’s an inert mineral I don’t feel to bad about that.
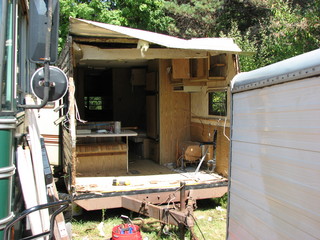
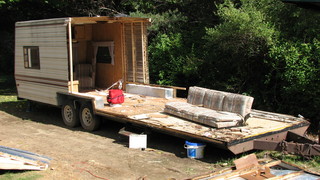
My parking area for big vehicles is a bit tight so it was easiest to just lop the front of the camper off to gain access.
I left the final 8′ of the trailer intact and closed it off with the door from the side and a couple of the windows. This will become my daughters playhouse, I’ll be publishing a complete article on its construction and Steampunkification come this spring when the weather is warm enough to paint.
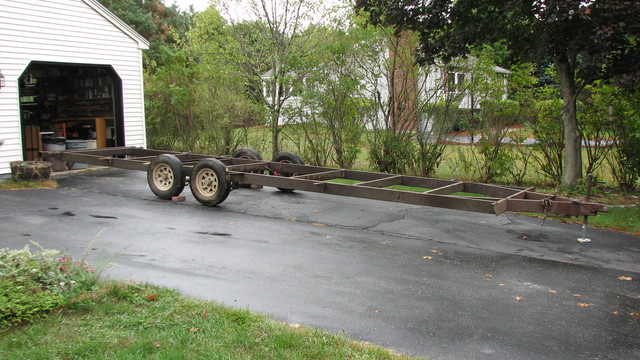
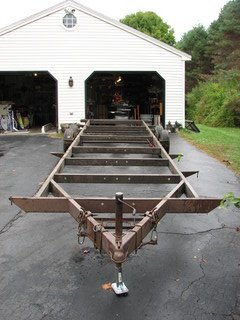
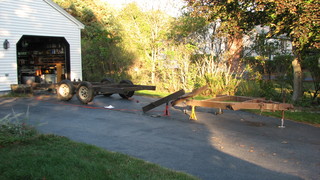
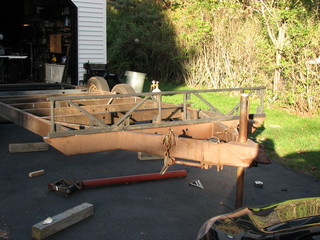
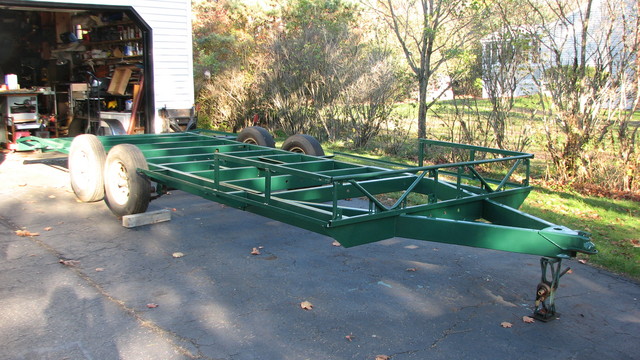
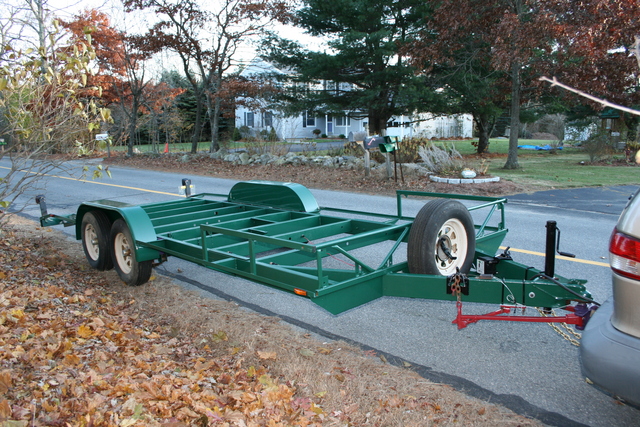
Here’s a photo of the trailer frame with the camper superstructure removed, it’s really long and a bit bendy.
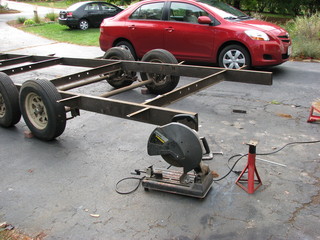
The first step was cutting the frame down to the 20 or so feet I planned. I went online and found some side-on pictures of car carrier trailers in the weight class I was shooting for and scaled some dimensions from them.
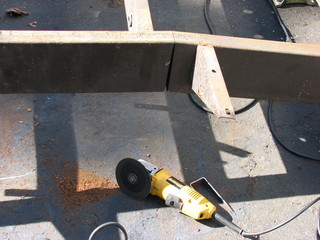
I ended up cutting about 5 feet out of the forward part of the frame and taking 3 feet right off the back. The first cuts I did with the big 14″ cut-off saw but I found that the 4″ angle grinder with a cut-off wheel was quicker and easier to use.
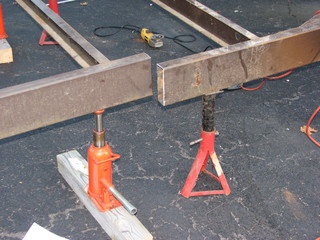
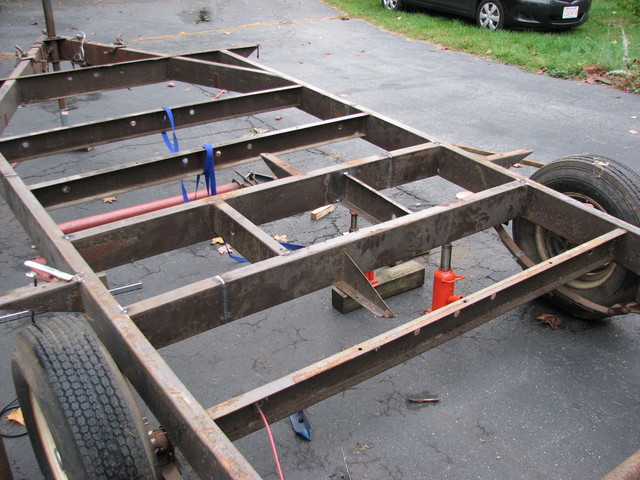
I cleaned up the cut sections and butt welded them together with my little MIG welder. The box section frame members were about 3/32″ thick so the welder had no problem with them. I spliced the removed sections together and used them as additional cross-members. Altogether I added a half dozen new cross members, there’s now one about every 18″ instead of the original 48″ spacing. Most of the scrap steel came from old exercise machines I scavenged from the metal recycling dumpster at our town dump.
The sad thing is our town selectmen recently passed and ordinance that bars people from taking things from the metal and wood recycling dumpsters at our town dump. The stated reason was that it was for “public safety” but few people believe that. It’s widely believed that it was targeted at a few people in town who have what we call “Yankee yards”. The idea was that this new rule would “cut off their supply” of new junk.
The crowning irony of the whole thing is that, since I can no longer rely on materials from the town dump, I must now take whatever I find elsewhere and stockpile it in my yard.
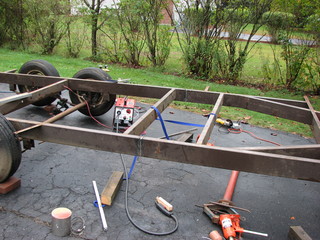
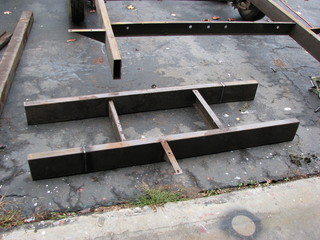
I wanted the section immediately in front of the axles to be especially strong since that’s where a milling machine or lathe would be loaded. So this is where I used the box section frame members.
Next step was to cut the frame to create a 2′ “drop tail” section at the back of the trailer to make vehicle loading easier. I also built a rail around the front so I’d have a place to secure smaller cargo.
I wasn’t quite ready to paint but it’s November and getting colder so I went over the frame with a wire brush cup on the angle grinder and put a coat of True Value XO-Rust on.
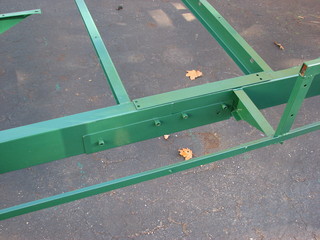
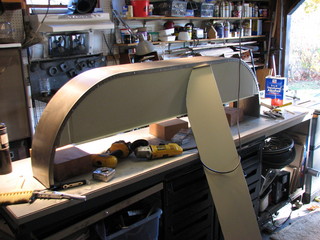
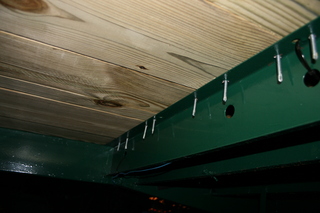
Here’s a closeup of the weld in the forward part of the trailer. I’m pretty confident my weld is good but being a belt and suspenders man I decided I’d bolt on a couple of gussets. I also started work on the fenders. These 66″ tandem wheel fenders were about $40 each from Northern Tool and I added some sheet steel cut from the modesty panel of a desk I rescued from the dumpster at work.
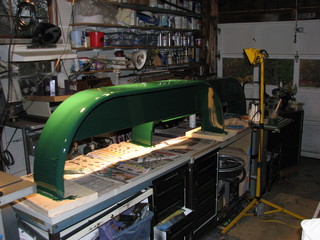
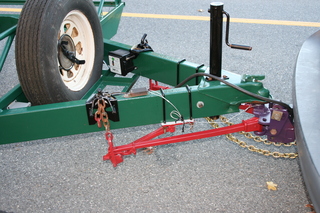
The fenders were painted with the same XO-Rust paint, this time indoors as it’s been in the 20’s every night this past week. I also cleaned and painted the tongue jack and load equalizing hitch using left over paint from several past projects. Above right you can see the load equalizers, the spare tire, the battery for the break-way kit, the break-away switch, and the new transport grade safety chain.
I hooked the trailer up to the Sienna for it’s first trip around the block, it was very well behaved so I headed up to Home Depot and bought (10) 10′ 2×10 and (10) 8′ 2×10 Pressure Treated boards for the deck. These I attached with #14×3″ self-drilling self-tapping screws.
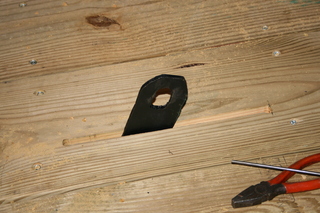
To provide the needed tie-down points I cut some 1/4″ steel with my oxy-acetylene torch and bolted them to the frame with grade 5 1/2″ bolts so that they would swing up through slots I cut in the deck with a jig saw.
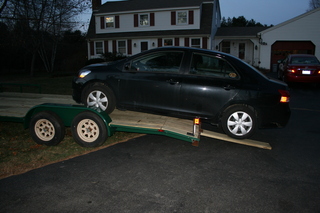
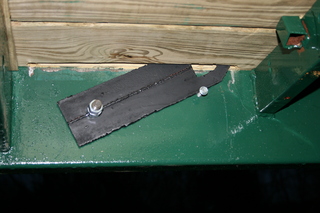
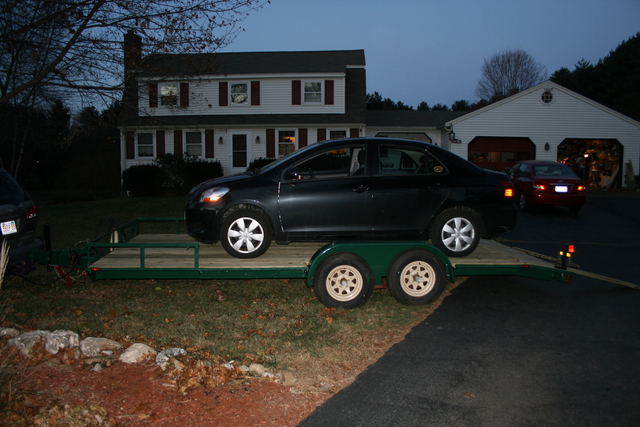
Here’s a shot showing how the deck attaches to the steel. Once the deck was complete and the tie-down in place I drove the Yaris up and lashed it down. As you can see the 4′ PT lumber ramps are plenty strong enough for the Yaris’ weight and the trailer is sitting nice and level with the car on it.
I took it out on the highway and drove about 10 mile at various speeds and found the loaded trailer rock steady and the brakes more then sufficient. After the run I found all four of the trailer brakes were at the same temperature and all were hotter then the brakes on the tow vehicle meaning I need to dial the brake controller back 5 or 10 % so the tow vehicle does its share of the stopping.
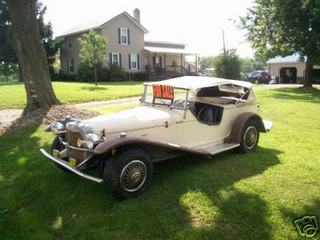
On the day I finished the car carrier I found my next project on eBay. A 1929 Mercedes Gazelle replica built on a Volkswagen Beetle chassis. She’s a Lady on the outside but underneath is the original “People’s Car” – a real Eliza Doolittle! What?!
I clicked Buy-It-Now and the deed was done. Now it’s only to hookup the trailer and drive for 12 hours to pick her up. Once back at the Steampunk Workshop I’ll begin her conversion to a steamer!

Good job even like the color.
I’ve made trailers before ,butt welds on frame are ok but ZZ-ing the frame where the welds are, is much better.
Just encase you build another one