Steampunk Flat-Panel LCD Mod
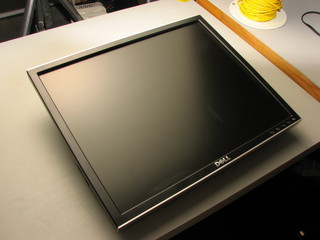
The Steampunk Keyboard looked terribly anachronistic sitting in front of my Dell 1907FP flat panel monitor and while I hesitated to tear open a $300 monitor that was still under warrantee, art must be served.
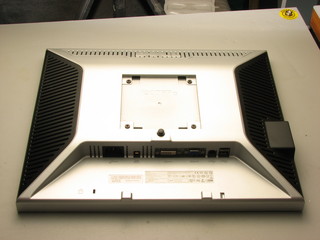
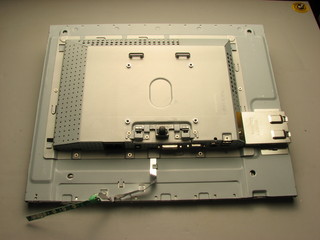
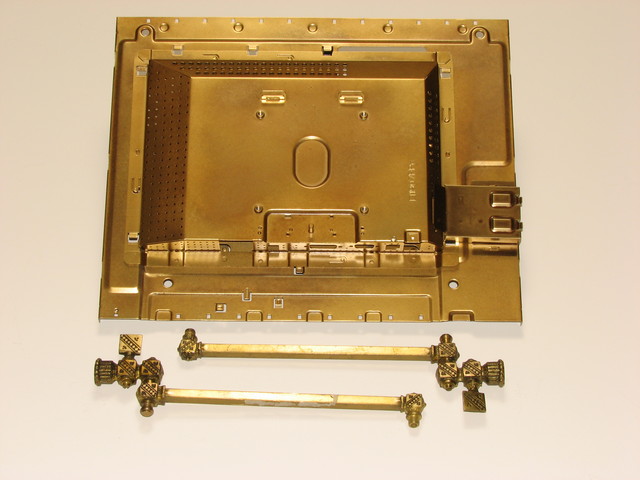
Inside I found that the whole thing was encased in steel sheet. I rejected the idea of re-making all of the pieces in brass and went looking for some paint that would give a nice effect. I settled on a nice gold metallic from Rustoleum with a thin coat of brown Krylon Crystal Color to give it an aged look.

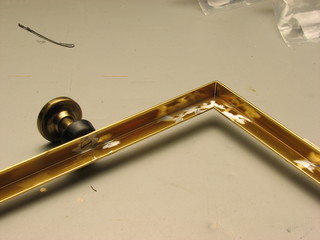
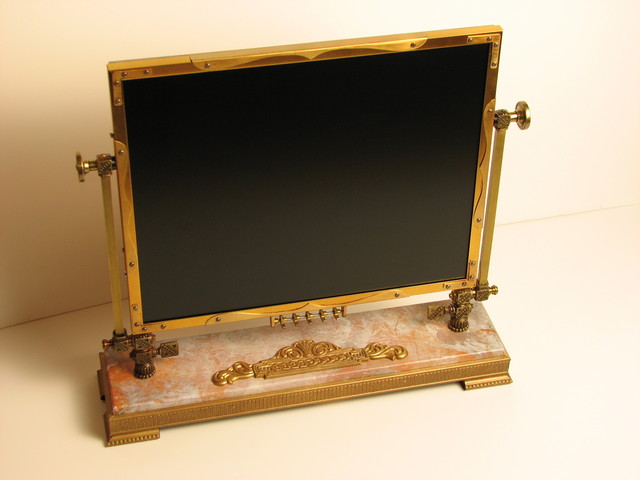
Not too bad! The finish is a good match for the 19th Century gas lamp arms that I bought from Sequential Glass. It was, in fact, these arms that inspired this project. As soon as I opened the box they came in I knew instantly what I was going to do with them.
I couldn't find any brass angle for the frame so I bought some brass colored aluminum angle from True Value. I fabricated "L" shaped pieces of brass for the corners and used self-tapping screws to secure everything. After all of the pieces were screwed into place I cut the screws flush on the inside with my Dremel.
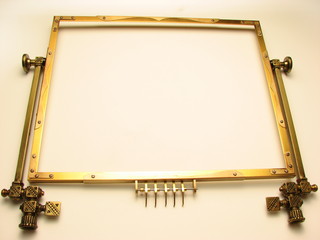
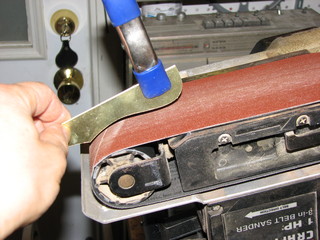
The frame looked a bit bare so I made some brass curly bracket trim pieces
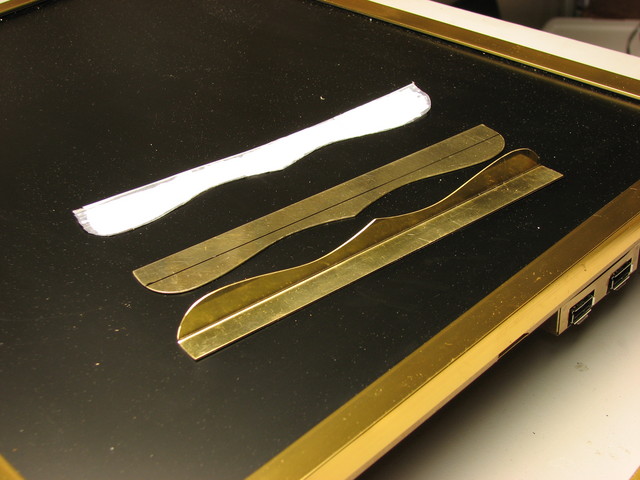
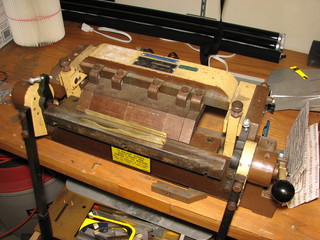
I cut the brass on the bandsaw and sanded the edges to make them smooth. Then I bent the trim pieces with this sheet metal brake a friend rescued from the dumpster at his workplace.
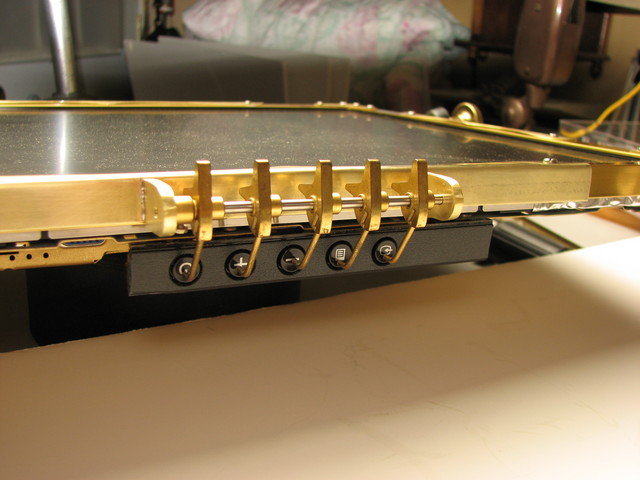
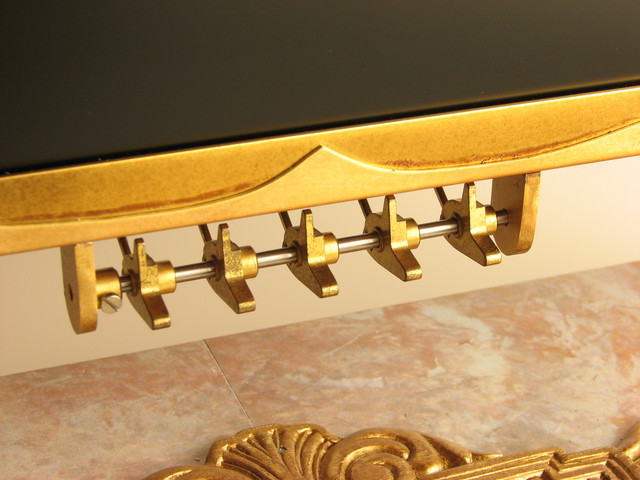
I was going to make a little brass box for the buttons but I went through the box of parts from a grand father clock escapement that I pulled out of the metal recycling dumpster at the town's transfer station and I thought the chime levers would make great controls.
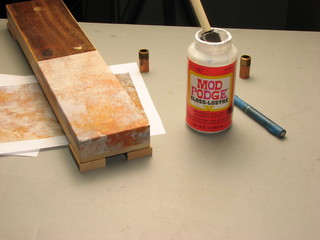
I wanted the base to look like marble so I did a Google image serach for large images with the keyword marble and found this great image which I printed on a color laser and Modge-Podged onto a wooden base. I made the base with four block feet and I added trim from Michael's that I had painted in the same manner as the monitor's sheet metal.
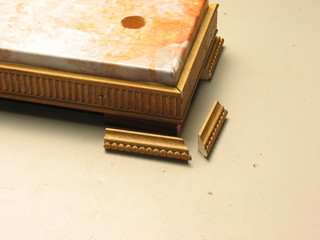
A couple of more pieces of trim made the feet. I screwed the gas lamp arms onto stubs of 1/2" brass gas pipe and press fit them into 11/16" holes in the base.
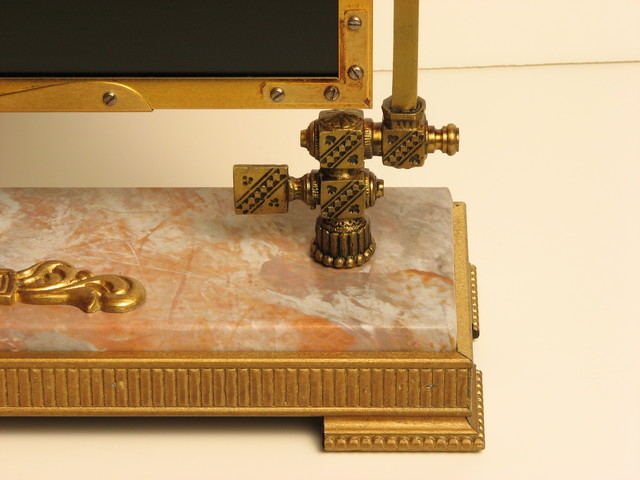
Here's a close up of the controls, I really like how these turned out.
Another gold painted piece of trim from Michael's finished off the base. The knobs that connect the screen to the gas lamp arms are kitchen cabinet knobs from True Value Hardware.
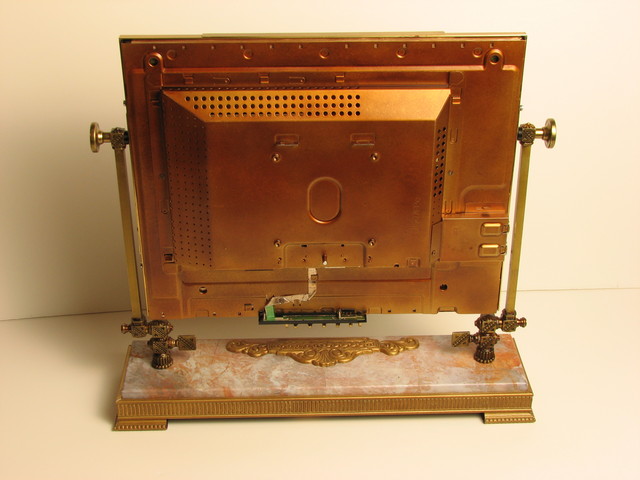
I need to do something about the controls from the back, perhaps a brass cover.
A side view.

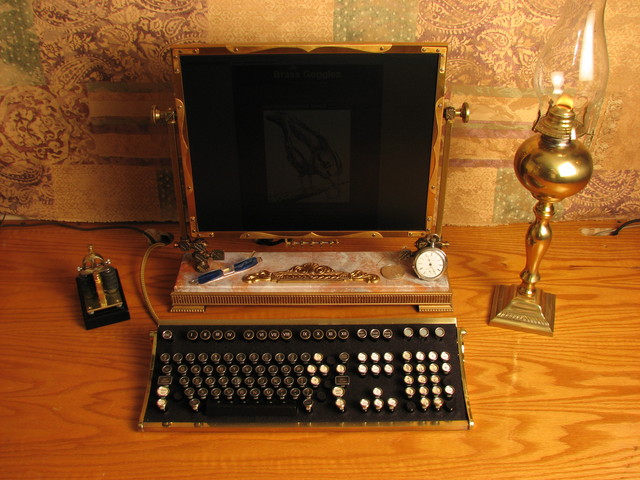
The Steampunk Desktop – wait, where's the mouse? Must get to work on that.
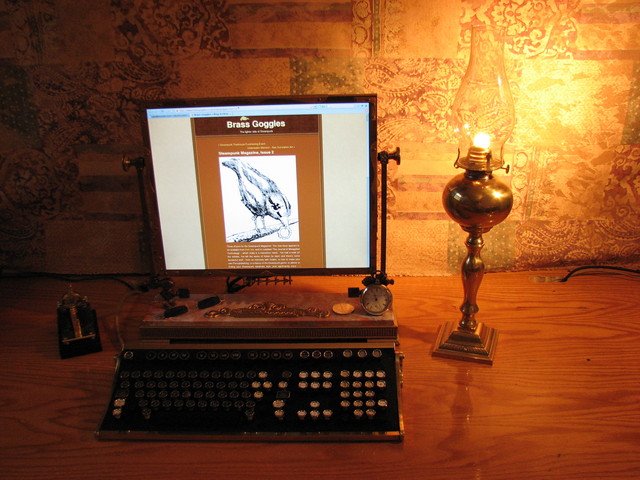
By kerosene lamp light . . .
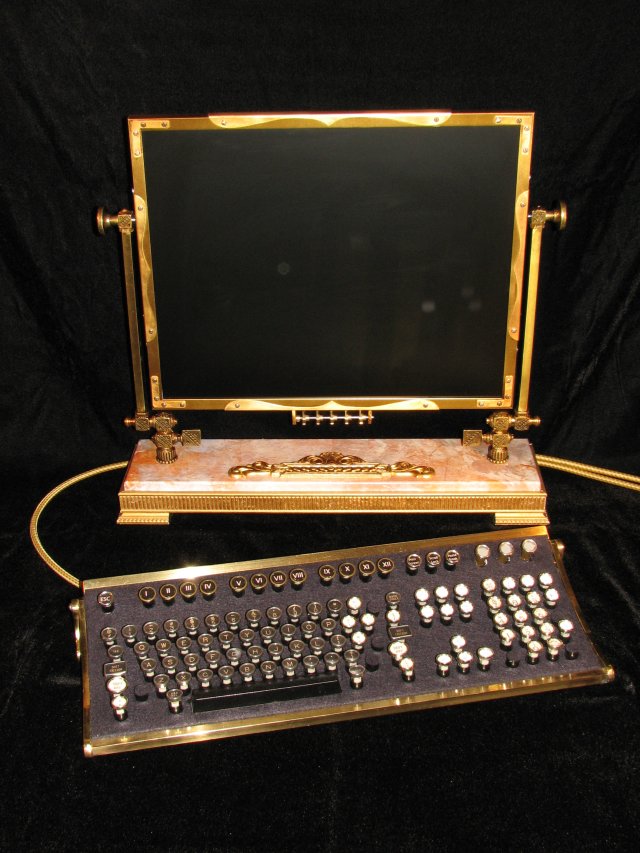
And finally on black velvet . . .
Hi,
Let me first say that I admire your ingenuity and your talent. You are among those who have contaminated me with this wonderful steampunk virus!
Sorry if I don’t write well, I’m French … that explains it, the French are generally quite bad in a foreign language!
As your works inspired me a lot, I also wanted to share with you one of my creations, the first that I tinkered in steampunk fashion, it is a LCD monireur. I posted pictures on my professional website at this address : https://florentgouvard.wordpress.com/steampunk-pc-monitor/
The idea of the two arms of brass, comes directly from your flat screen steampunk and I found logic to show you this, knowing that you are one of my main inspirations.
Thank you to share your know-how with us !
Very sincerely
Mr_Brasswood
I’m speechless. Fantastic piece of art.
This is beautiful!!